Showing posts with label baking. Show all posts

Wednesday, 3 May 2017

Extended Birthdays and Unicorn Cake

My little sister seems to have a rule. This rule is that birthdays, (well, her birthday to be precise,) can go on for as long as you jolly well feel like. Therefore this weekend I found myself trekking down to the edge of Essex with a 3kg unicorn cake. Complete with horn, ears and enough sparkle for it to blind you in bright sunshine.

Lets take a moment here to consider this monstrosity of a cake. Like many of you I'm sure, in recent months I have been blown away by the beautiful creations of companies such as Kek & Co. and thought I'd give it a go.

Just for reference, this is what a unicorn cake is supposed to look like:


A post shared by KEK & Co. (@kekandco) on

An effortlessly smooth tower of coloured icing.

However, as a distinctly amateur baker, the reality was far from effortless. This cake was much trickier to create than maybe you'd expect. My version took me a week. Yes, you read that correctly, A WEEK.


In light of this, I will outline some of my mistakes below in an effort to help you not make the same!

Firstly, there's the baking. Well, here I perhaps started off slightly on the wrong foot by using tins which were far far too large. It took ten eggs and two nights of baking to create the four layers I needed to get my cake to a reasonable height! However, one useful little trick was freezing my layers to make them easier to work with later. To do this, once baked, wait for them to fully cool before double wrapping them in cling film. Then, simply pop in the freezer. This kept my layers fresh for the duration of the week and also made icing them later easier as they stayed together better.

Icing the cake however is a whole other saga. You need two layers - a crumb layer (to lock down all those pesky crumbs) and a smooth outer layer. My tip here - definitely use a cake turntable  and an icing smoother (I borrowed both of these) and do not make your icing too thick! I found that my second layer of icing was just sticking to the layer below and peeling it up as I tried to smooth. This introduced more crumbs and for a moment, cake-y hell broke loose (quite literally). In the end, I didn't quite have the super smooth finish of the professional bakers, but hey, this had rustic charm!


The decoration wasn't too hard, although I was glad I had bought some official 'icing glue' and not just gone with my instinct that 'oh, using icing to glue should just work'. (I may have also cheated and used cocktail sticks...) The horn however did have a tendency to crack a little and was difficult to get straight... This is an issue I didn't really overcome but just did the best I could - if anyone has any advice on how to do it better, do tell me!


Finally, there was nothing left to do but transport the cake. This was a challenge in its self and unfortunately Mr Unicorn didn't make it to his destination without a couple of dents, scrapes and rough patches... Ah well, I tried.

Thankfully, despite the slightly battered decoration, the cake actually tasted delicious! I was a little surprised as I wasn't sure how well the whole freezing process would work, but it was a success! Maybe it was worth all that effort after all...!

Anyway, cake saga aside, back to the extended birthday.

We spent the first day down at the sailing club where Lulu bullied her boyfriend Alex into a wet suit and out on to the water, despite the poor boy never having sailed before.
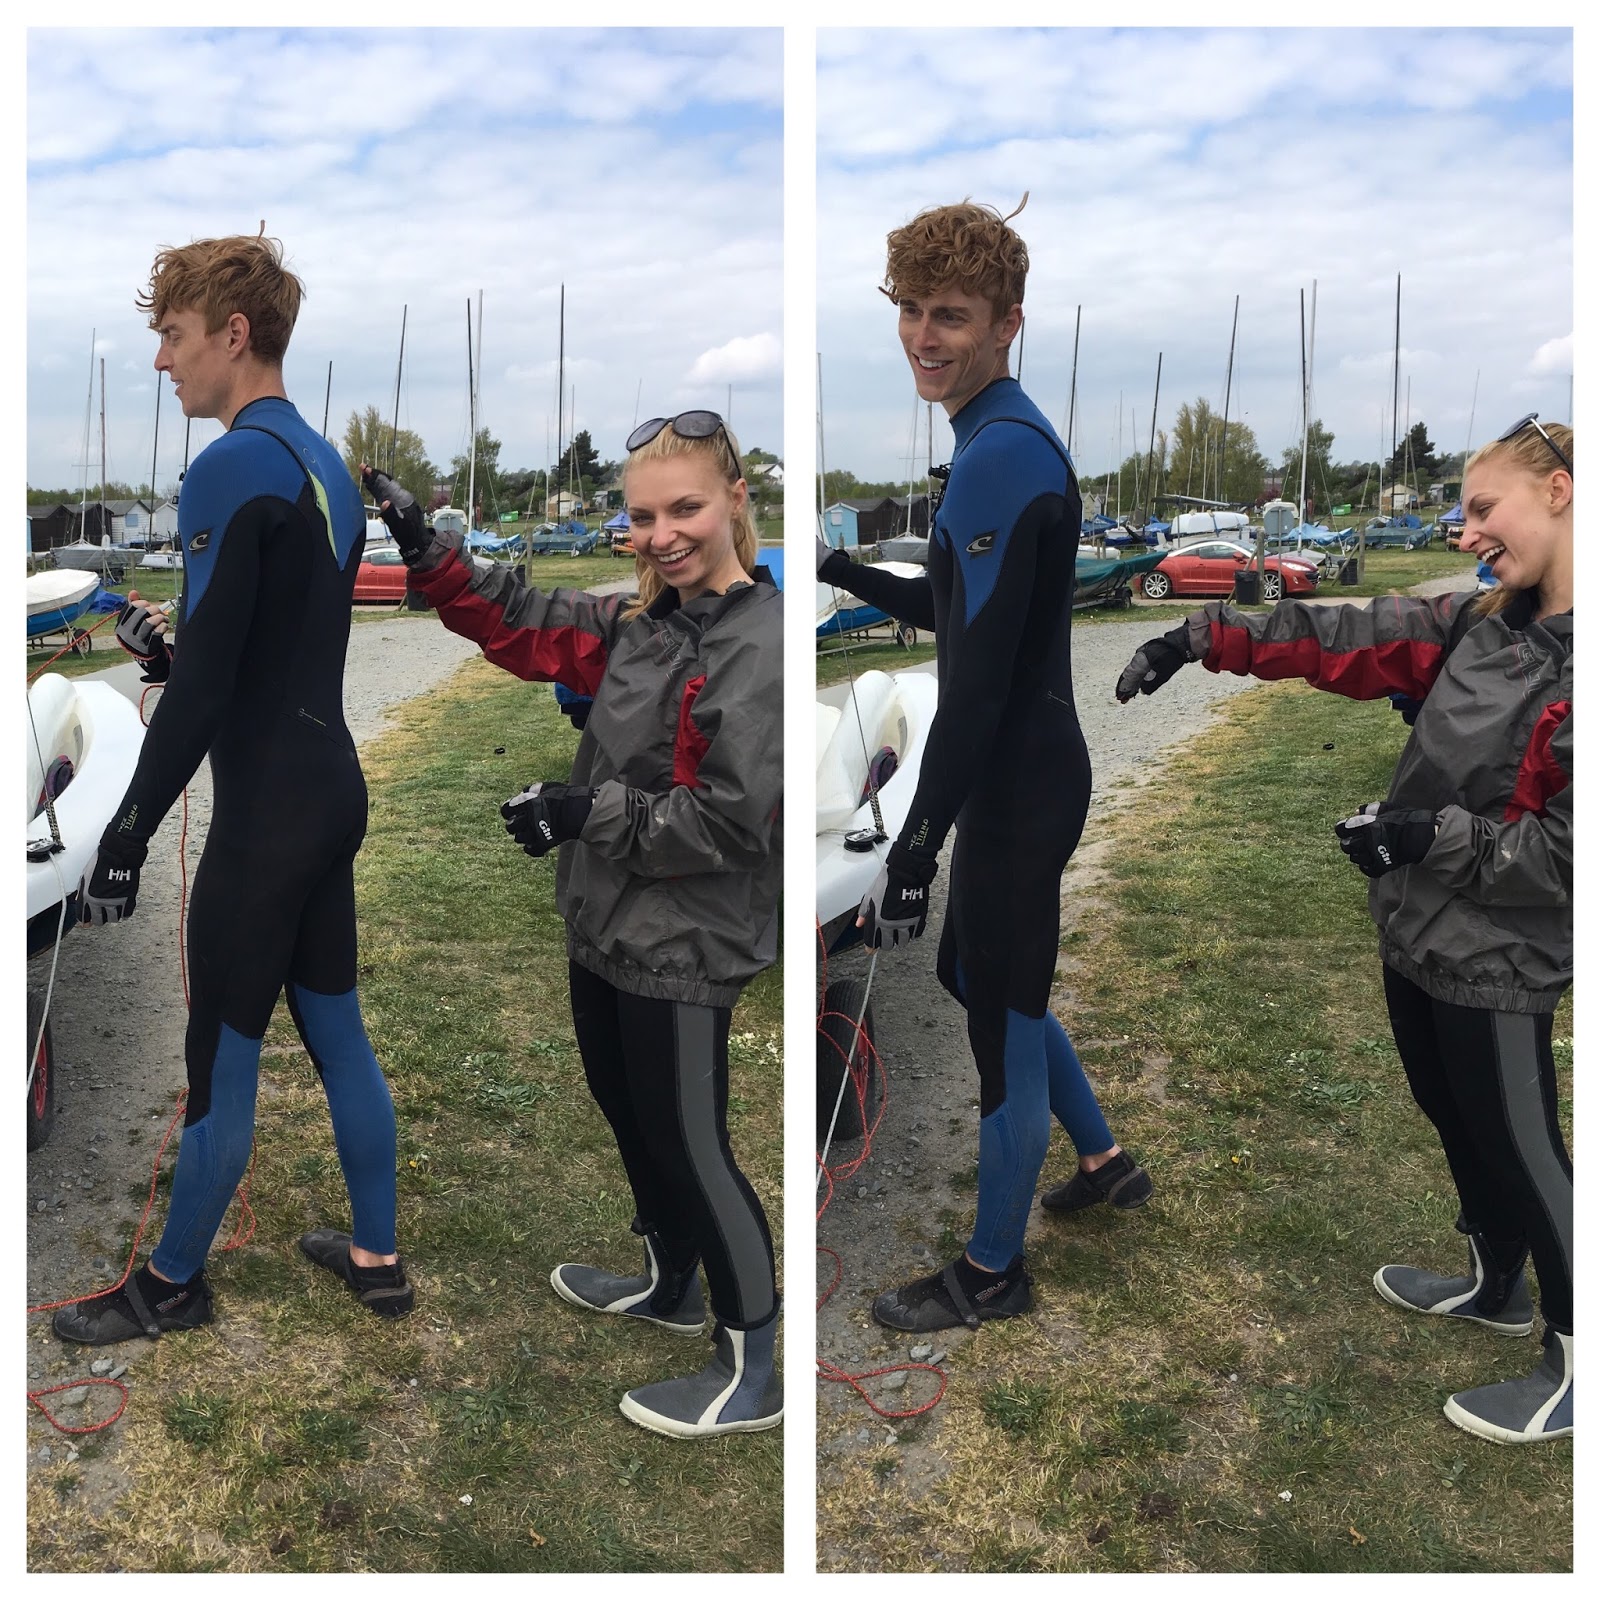


I took refuge in the safety of the clubhouse, armed with a ginger beer and a packet of salt and vinegar crisps...

...before moving on to a 99 flake from the ice cream van parked next to the sea front.


The next day was spent on the beach and saying hello to the horses and other various animals, before getting ready for Lulu's birthday dinner.


The theme was 'multicoloured' and so all the food matched this theme, right down to the different flavoured cream cheeses on offer as part of the starters.





A musician came to play, spinning out indie classics ('Naive' by the Kooks, anyone?) followed by some more recent chart toppers.


The evening was finished off by slowly demolishing the cake and playing The Hat Game (a fun mix between Articulate and Charades) which my team proceeded to win, making it a good evening all round!


Friday, 24 October 2014

Recipe: Lemon Curd and Raspberry Cream Naked Cake

Although Autumn has crept upon us, this week has been beautifully sunny. To celebrate the season's last salute to Summer, I set about baking this little naked cake. To me, nothing screams 'Summer!' more than raspberries and cream and, well, I just have a weakness for lemon curd! Put the two with cake and I must surely be onto a winner?


To recreate this little beauty, you will need the following...

For the lemon curd:
The grated rind and juice of one and a half lemons
50g butter
65g sugar
2 eggs

For the raspberry cream:
150ml double cream
5 or 6 raspberries
2tbsp icing sugar

For the Sponge:
100g butter
100g sugar
100g self raising flour
2 eggs
juice of one and a half lemons
1tsp baking powder

I always start by making the lemon curd. This is very simple. All you have to do is whisk up your two eggs in a bowl with your lemon juice and rind. Then pour this over your butter (cut into little bits) and and sugar which should be in a heat proof bowl. Place your bowl over a pan of simmering water and stir together the mixture until the butter melts. Continue to stir until the mixture starts to thicken which should take around 7mins. Once it has thickened, take it off the heat and let it cool- it should thicken more as it gets cooler. Once it is cold, you will have a tangy lemon curd, ready to be used on your cake. (And don't worry! You should have a plenty extra left over as well!)

Next, the cake. This is a super easy no fuss 'all in' recipe which my family has championed since before I could reach the mixer. Preheat the oven at 180 degrees and then simply bung all your cake ingredients into a bowl and whisk. Once you have a fluffy mixture, separate it out into two well greased cake tins- the ones I used were fairly small and shallow, with a roughly 6inch diameter. Then, pop your tins into the oven and let them cook for about 25-30mins, until golden brown. As soon as they're done, upturn your cakes onto a wire rack and leave them to fully cool.
N.B. you could also use one deeper cake tin and cut this in half once it's cool, although personally I never manage to cut it straight! If you do this, you will also need to adjust the cooking time appropriately. 

While the cakes are cooking and cooling, take the time to create your cream filling. Simply pour your double cream into a mixing bowl, add two tablespoons of icing sugar and your raspberries. Then, beat hard until the cream thickens to make stiff peeks. This can really take some work if you're doing it by hand but the end cake is definitely worth it!

Once you have your cakes, your cream and your curd, it's just a simple matter of assembling your cake! Take one cake and smear one face with lemon curd and do the same to the other cake, just with the cream. Sandwich together and vôlá, you are done! I used a sieve to dust mine with a little extra icing sugar and stuck on some raspberries and blueberries with some icing paste (icing sugar and a couple of drops of water, mixed to a thick paste) to make it a bit prettier.


I have to say, personally I think this cake is one of the most elegant and tasty things to come out of my kitchen. One mouthful and you can practically taste the summer sun! What do you guys think?


Tuesday, 15 July 2014

Recipe: Homemade Caramel Cupcakes with Salted Caramel Buttercream Icing

This simple recipe consists of three parts. Firstly, we have to tackle making a rich caramel. Secondly,  this caramel is used to make the perfect little caramel cupcakes and finally, used to make the creamy salted caramel buttercream. Put together, you have one delicious teatime treat!


The Caramel 

You will need:
50g caster sugar
a splash of water

1. Start by coating the bottom of a large pan with an even layer of your sugar. I've found it's easier if you use a light coloured pan as you can monitor the colour of the sugar more easily.

2. Trickle some water over your sugar so that it is all wet, but not drowning in water.

3. Slowly and carefully begin to heat your pan, until it reaches a medium heat. Keep stirring the sugar and watch carefully for colour change. It should start to turn a light brown and then continue to darken. Beware! The colour can change quickly so don't abandon your pan throughout this process. You want to remove the sugar from the heat when it reaches a rich brown. However, remember that sugar retains heat and so will continue to cook when you remove it from the stove. Therefore be careful to remove it long before it burns! It is much better to be over cautious and remove the sugar a little early and have to reheat than end up with a burnt pan!

4. You will now have a pan of runny caramel which can be spooned into the cake and buttercream. If it sets a little, you can add a dash of water and gently reheat it to re-melt the caramel.


The Cupcakes

You will need:
100g brown sugar
100g self raising flour
100g butter
2 eggs
1tsp baking powder
3tsp caramel
optional scoop of caramel chunks

Note: I used my cupcake maker to cook my cupcakes to ensure they were uniform. However, if you don't have one of these, simply preheat your oven to 180C and cook your cupcakes in paper cases for 10-15mins or until an inserted skewer comes out clean. 
  
1. Simply bung all your ingredients in a mixing bowl and mix until thoroughly incorporated. We've used brown sugar instead of the usual caster in order to give the cupcakes a richer flavour, and I like adding the extra caramel chunks for a little gooey surprise. These are widely available in supermarkets.

2. Cook!

3. Leave to cool in preparation for icing.

The Salted Caramel Buttercream

(Here comes the best bit!)

You will need:
200g icing sugar
100g butter
4tsp caramel
a generous pinch of salt flakes (I used shavings from a rather special rose pink block of salt, found in Fortnum & Mason).


1. Simply cream all your ingredients together! Your buttercream should be reasonably stiff so if you're finding it a bit runny, it could be because it needs a dash more icing sugar or it's a bit warm (which can be countered by letting it set for a little in the fridge).

2. Pipe onto your cold cupcakes.

3. Enjoy!

I have to say I am a massive fan of these homemade cupcakes- they're perfect with a pot of tea (chai is my favourite!) and a gossip!


Tell me what you think and also, what are your favourite flavour cupcakes?


Sunday, 24 November 2013

Gourmet Gadgetry: Cupcake and Muffin Maker

The other day, Marcus surprised me by sending me a little present to congratulate me on obtaining a place on a graduate scheme I'd applied to (yay!). I excitedly opened the rather large box to reveal a cupcake maker by Gourmet Gadgetry! 


So, if you're wondering how exactly a cupcake maker works, it's essentially a toasty maker, just for cupcakes. It supposedly creates perfectly formed little cupcakes in a fraction of the time they normally take to bake. I couldn't wait to try it out and so cracked on with some baking!


I baked some very simple lemon cakes. Here's what you'll need if you fancy doing the same:

For the cakes:
100g Butter
120g Self rising flour
120g Caster sugar
2 Eggs
1 tsp Vanilla essence
1 tsp Baking powder
Juice of half a lemon

For the icing:
100g Butter
200g Icing sugar
A few drops of food colouring

Just blend the mixture all together until it's of a smooth consistency. Then, pop your mixture into either your cupcake cases and into the oven (I tend to cook mine at 180C for about 15-20mins) or into your cupcake maker, wait for them to go golden brown and then remove and leave to cool.

While you're waiting for them to cook, you can whip up some icing. Pop your butter into a bowl and whisk until it's smooth. Then gradually start adding your icing sugar and your drops of food colouring. I normally taste it as I go along to see when it's sweet enough. You can then just smear your icing onto your cool cakes or ice them with a piping bag like I did!


I found that the cupcake maker did make the entire process much quicker. The moment I put the batter into each little well, I could see it starting to cook. Once the lid was on, I only had to wait about seven minutes before they were done. Not only that, each cake slid easily out of their well and each was golden brown and identically shaped. Decorating them was very easy as no cake had been able to 'rupture' or had risen oddly. 

I'd definitely recommend Gourmet Gadgetry's cup cake maker (especially to students fighting for oven space!) as it made baking just that bit quicker and easier. There was also no need to buy cupcake cases! I churned out around 28 cupcakes in the end since I just put in more batter once the first round were finished. Luckily, I have three hungry housemates who will be more than happy to eat them all!


Sunday, 3 March 2013

Cooking with Croissants

Jossi has a bit of a Nigella Lawson obsession. Luckily, she wouldn't be so mean as to keep this all to herself, so we got cooking!

Nigella does a fabulous range of express recipes which all look totally delicious and from my experience so far, really are quick and easy.


We chose to make this truly scrummy caramel croissant pudding - it literally took us about 10mins plus cooking time. We (being the poor impoverish students we are), skimped a little and just used 250ml of milk instead of 125ml of milk and 125ml of cream. For the same reason, we also missed out the bourbon, but it still tasted amazing!


Be careful when you're caramlising the sugar- I have to admit Joss and I burnt it the first time. The sugar retains a lot of heat, so as soon as it reaches the temperature where it starts to burn, you can whip it off the hob as fast as you like, but the damage is done- the sugar will carry on cooking. We found we had to watch the pan like hawks and the moment we saw the tiniest bit turn brown, we turned the heat right down. Then, when about 2/3 of it had caramalised, we turned the heat off completely and the sugar finished its self off.


This is where we burnt it first time- obviously not paying attention!

Being a bit more careful second time around...

Custard time


I'd definitely have to agree with Nigella when she says this is a meal in its self, but that didn't stop Jossi and I polishing off the entire dish!


Monday, 25 February 2013

Peppermint Creams

Peppermint creams always remind me of my school days. The first time I ever tried one was in a physics class. We were learning something about waves traveling through space when a girl passed a little sugary disk under the desk and into my waiting palm. "They're home made," I remember her whispering as I popped it into my mouth just as the teacher turned around to glare at us. "What's that in your mouth?" I remember him snapping and I replied "Nothing!" quite truthfully since the minty disk had already dissolved on my tongue.

Probably because of this, these little treats have always left me feeling naughty. Nowadays, the naughtiness comes from knowing just how much sugar is in them. Then again, everyone needs a treat now and then and if you have just one or two...


So how do I make them? They really take no time at all (and even less if you don't have to do all the mixing by hand!) To start with, you will need:
450g of icing sugar (plus another 50 or so grams to sprinkle)
juice of half a lemon
one egg white
two teaspoons of peppermint flavouring
a little chocolate sauce (or chocolate) for spattering


Start by whisking up your egg white until it becomes stiff- when done properly, you should be able to tip the bowl over your head and nothing will come out!

Then beat in your lemon juice, flavouring and icing sugar. The mixture will now be quite hard to mix as it becomes a thick paste.


Next, you need to roll out your paste. It's very sticky, so sprinkle some icing sugar over your work surface and rolling pin. Then roll out your paste, making it as thin as possible.


Now all you need to do is cut out your disks. You can make them any shape, but we went for the conventional round. However, we did this the not-so-conventional way- using shot glasses as our cookie cutter...


(Nearly there!) Lay your creams out on a board or baking tray. Then get your sauce (we used M&S fudge sauce which is delicious!), heat it up a little so it's quite runny and then splatter it over your creams. The darker (so more bitter) the chocolate in the sauce, the better contrast it'll be to the sweetness of the creams. (If you don't have any sauce,  just melt some chocolate instead.) Lastly, pop your creams in the fridge to set for a few hours.


There we are, naughtiness on a platter! 


Monday, 18 February 2013

"Mars Bar Melts" v Mars Bar Cookies

Jossi and I have a long standing love affair (along it seems, with most of the blogging community) with Rose, AKA The Londoner. In case you're not already affiliated, she  blogs about food, fashion and life in general in a beautifully relatable way (even if you don't have quite the same lifestyle as her) and has inspired many (myself included) to take up blogging. Anyway, one of her posts which has always caught our eye is on mars bar melts which look deliciously sinful, so Jossi and I decided to give them a whirl.


Ours turned out to be scrumptious and the use of cake mix instead of cookie dough added an almost surprising twist- despite the fact we'd whisked up the cake batter, we still expect something much more like a cookie to come out of the oven! Maybe that was a little dim on our part?


But how do these compare to a mars bar cookie? Well, since we made our cookies from scratch, they were marginally more time consuming. Here's how we made them:


Ingredients:
one egg
120g butter
220g of fine brown sugar (caster will do if you don't have this)
200g self raising flour
two mars bars
4 or 5 marshmallows (okay we cheated a little and added these in as well...)
A pinch of salt


Very simply bung all of the ingredients into a bowl and mix. You may find it helpful to rip the marshmallows into small pieces and to chop the mars bars quite finely. When they're all incorporated, take small amounts of the dough and flatten it into cookie shapes, then pop them on a baking tray (set them a bit further apart than we did!). Put the tray in oven for about 15 mins at 180°.  Ta-da! You're done!

Okay okay, ours really aren't that pretty, but they tasted amaziiinng!


I have to admit, I'm rather more of a cookie fan- I like the subtle crunch you get when your teeth sink through one and the way they're slightly more on the chewy side than cake. The ones Joss and I baked where truly magical, if rather irregular looking. However, that's not to say I don't like the 'Mars Bar Melts' and they were definitely appreciated by my little sister when I delivered her some this weekend!


Cookies are always better with hot chocolate!


*Slurp*


We had loads of spare mixture and decided to get inventive, so we may have combined the two mixtures together and baked a cookie-melt hybrid. These were absolutely fab and definitely worth a try!